Hello, and happy September!
Also, happy 52nd blog post; a year of updates, with a winter hiatus. In those terms we’re definitely past halfway — I don’t think I’ll get to 100 posts before finishing. Then again, I’m terrible at predicting timescales so ignore me.
On Monday I spent 2 hours figuring out which lights to get, with the sweet release of closing every tab after ordering. I’m doing cove lighting — LED strips hidden from view — in the top corners and under the gunwales. A space the size of my bedroom would need around 1000-1500 lumens, but indirect lighting needs more. Nerds of the internet have opinions, but somewhere between 15-20k lumens, depending on which nerd you ask.
Because it’s a narrower space I’ve gone slightly under, around 11k lumens across all 4 strips, with a 2700K colour temperature and a 95 Colour Rendering Index (CRI). CRI measures how well light represents colour compared to a natural source, like daylight. 100 is perfect, the same as incandescent bulbs. Most LEDs sit around 80 and make things look a little drab, and could I have gone with 90? Absolutely, but I’m a pernickety fuck. It’ll be vivid, and so cosy.
For internet posterity here’s what I’ve gone with:
- 24V, 2700K, CRI>95 LED strips from Tagra. They also do water-resistant ones which I'll need for the bathroom.
- A 24V, 150W dimmable LED driver. I’ll only need 100W max for the bedroom, but Tagra’s 100W driver only dims between 20-90%, instead of 10-100% for the 150W+ ones.
- A Varilight V-PRO dimmer, with a screwless, matt black faceplate. It has 2 knobs so the other will control the bathroom, with the second switch in the saloon/lounge.
I originally ordered a V-COM dimmer as recommended by the LEDs, but they only support leading-edge dimming, whereas the more modern trailing-edge is supposedly smoother with less flicker and noise. The “silent operation” on VARILIGHT’s comparison page sold me, along with the option to dim from multiple locations.
Quick aside: electricity flows as a wave (most of the time), and dimmers work by cutting off part of the wave. The leading- vs trailing-edge above refers to which part of the wave you chop. Specifically why cutting the latter part of the wave is quieter I’m not entirerly sure, something to do with the leading-edge being a sudden jump up in voltage making the components buzz. Ask an electrician or physicist, I didn’t finish my electrical engineering degree.
And finally, a roll of 3-core 1.5mm² cable for the lighting circuit:
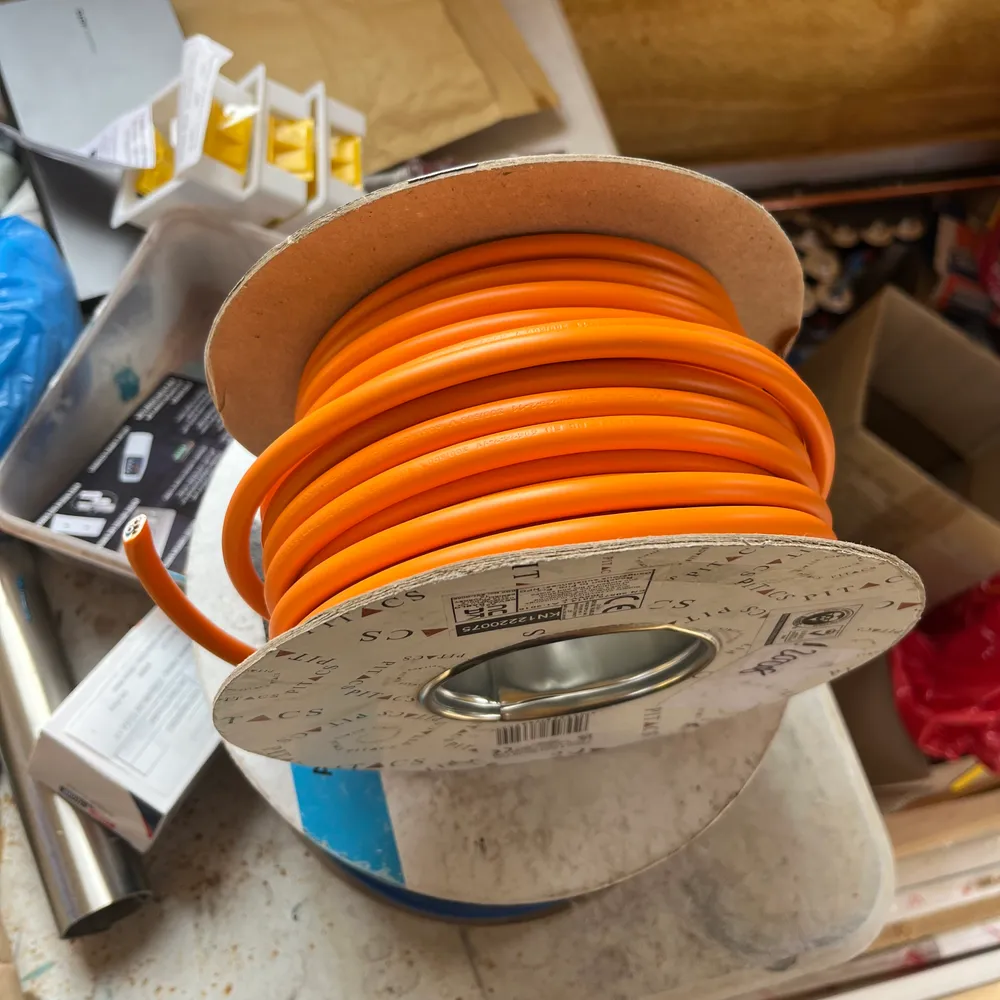
Orange, to match the boat. And shoutout to Pitacs — they do really nice cable, with good aesthetics (that drum is from Toolstation). The only thing I haven’t found with them was a 2-core 2.5mm², which I got from Oceanflex.
One potential downside to the above is voltage: these aren’t 12V boat lights, it’s mains 230V, meaning I’ll need the inverter running 24/7 when away from shore power. That was already the plan as I’m getting a mains fridge, and let’s face it: I’m going to over-engineer the electrics anyway because I can’t help myself.
For the fitting finishes my options were black or copper. For now I’ve gone with the matt black because this is a boy boat, but I can always change the faceplates later — there are so many options!
And something I’d forgotten, but luckily my dad reminded me of on inspection: edge trim for the gunwale boards. For that I’d need a router, which I acquired on Monday (capitalism wins again).
Routers had always seemed mystical to me, but now I have one and know how simple yet effective they are, I feel mystical; I want to rout all the things with a nice edge. I started with the boards on the port side:
There’s a ~1mm gap where the 2 boards join with the cladding above because I’m slightly incompetent, but I’ve forced it in my “learn to love” bucket. Your bug is my feature; it’s rustic. And the gap underneath with the lower cladding is fine, I’m covering that with a little pine moulding.
On Tuesday afternoon the extra wood arrived, and after unloading and cutting it open, something… felt wrong? Like, a different size. I got out the calipers and sure enough, it was different — thinner! It was ~11mm thick, and didn’t fit anything in the bedroom which, on inspection, was 15mm thick. WTF?!
Annoyed at first they fucked it up, but not here: this wood was the correct size, but the previous order was the thicker cladding. And without a comparison back then, I assumed it was right and cracked on.
No wonder that wood has been a bastard to bend for the bedroom! I’ve been doing this on bloody hard mode. So I acquired a few more of the thicker pieces to seal it off, and now I know what to look for with the rest of the boat: the thinner stuff that won’t even need bending… god dammit.
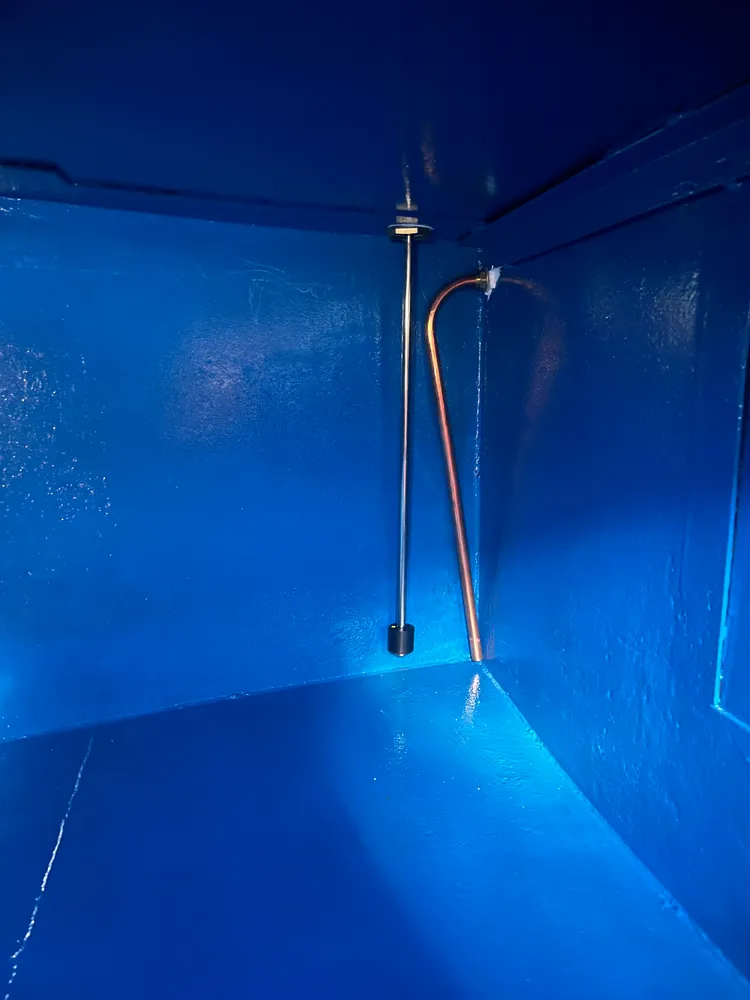
In other news, I started Saturday by fitting the water tank overflow pump:
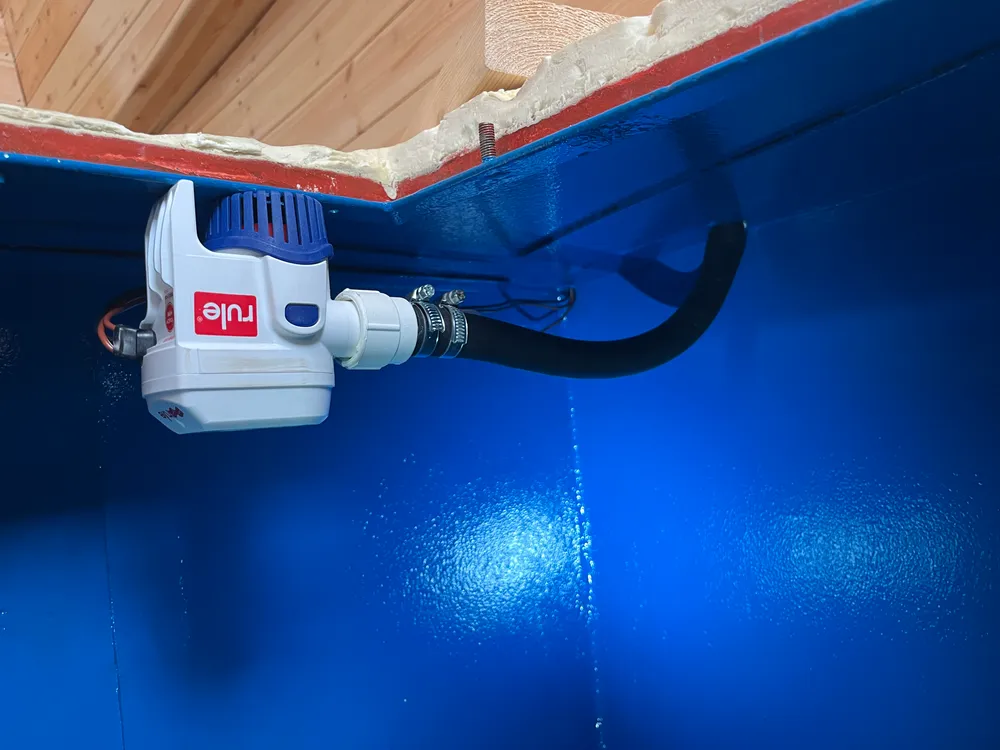
Upside down, but it worked like that when I tested in a bucket. And whether it’s strictly necessary I don’t know; there was one before, and it means I don’t have to water-test all the seals around the tank… 🤷♂️
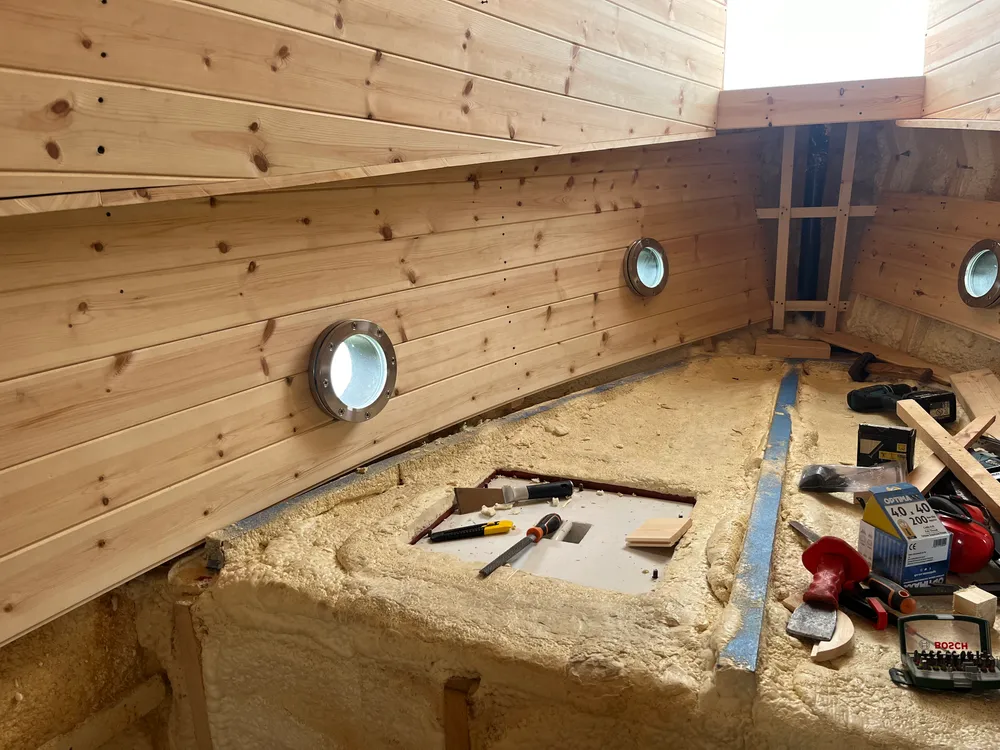
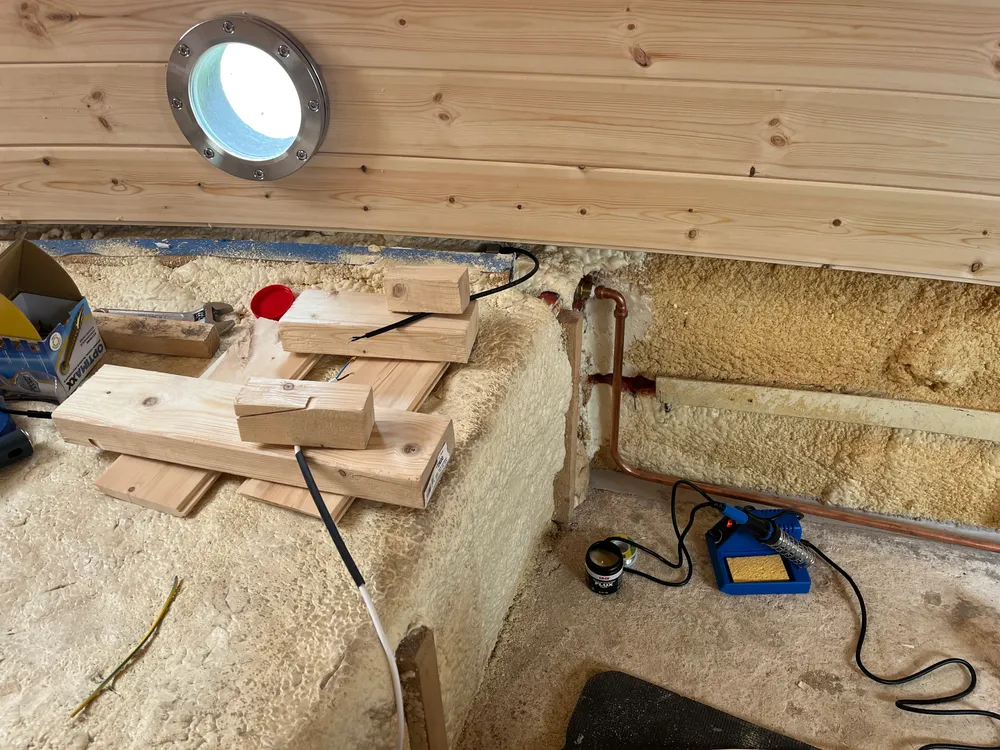
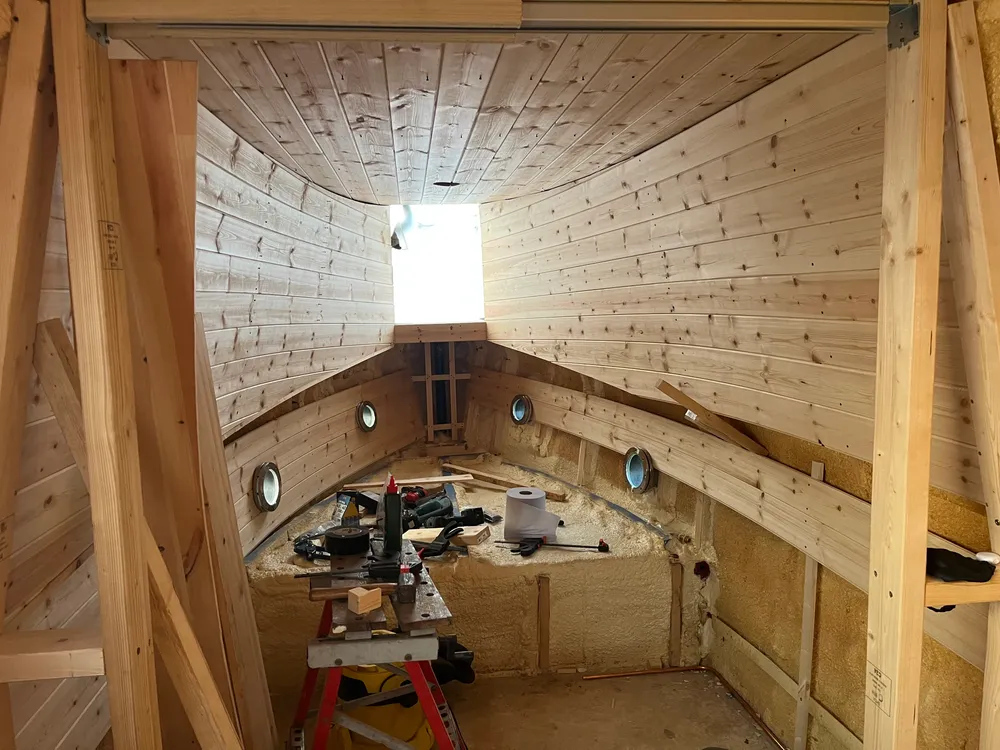
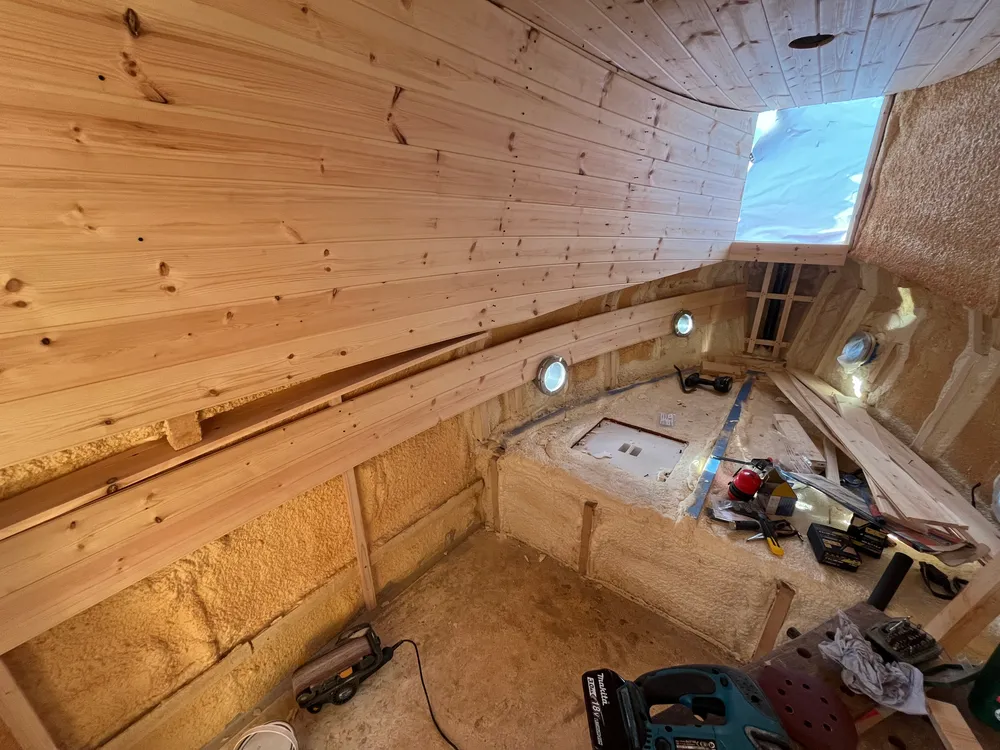
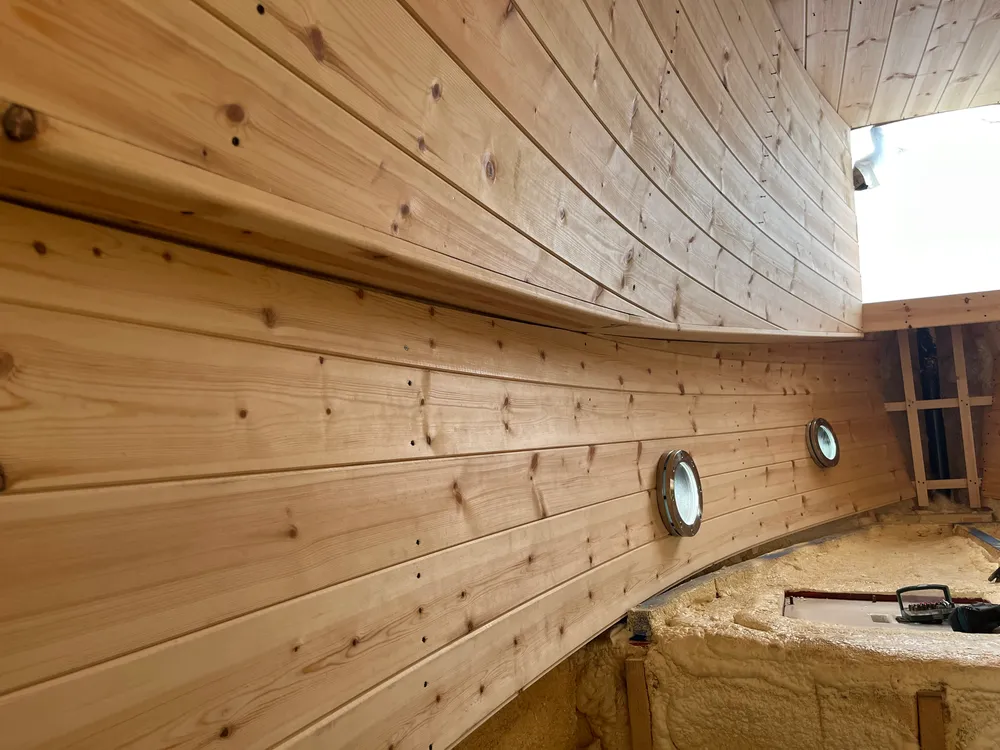
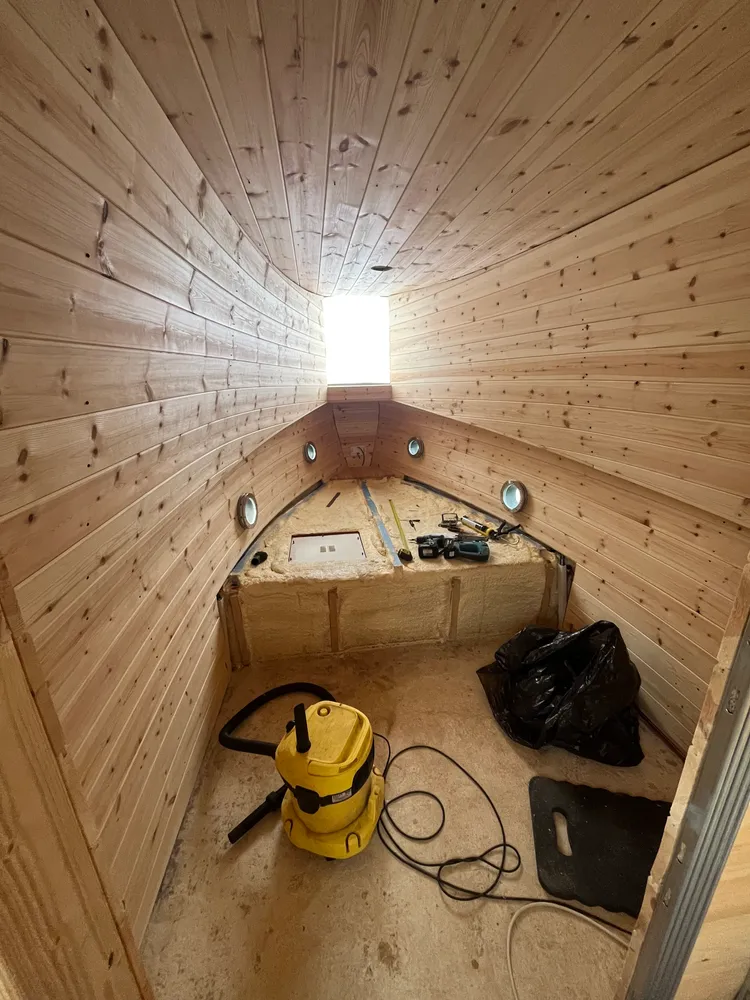
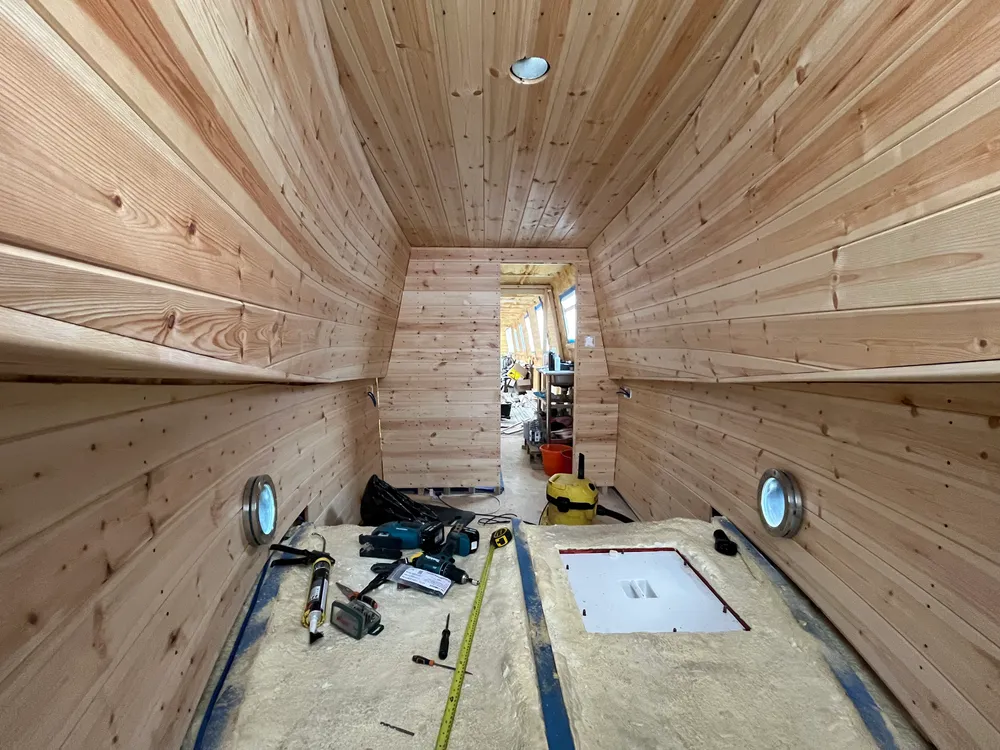
After that I carried on with the bow:

Before cutting out the plug sockets and putting the wiring in place, with some dual-channel conduit to separate 12v and 230v circuits (interference, ya know).
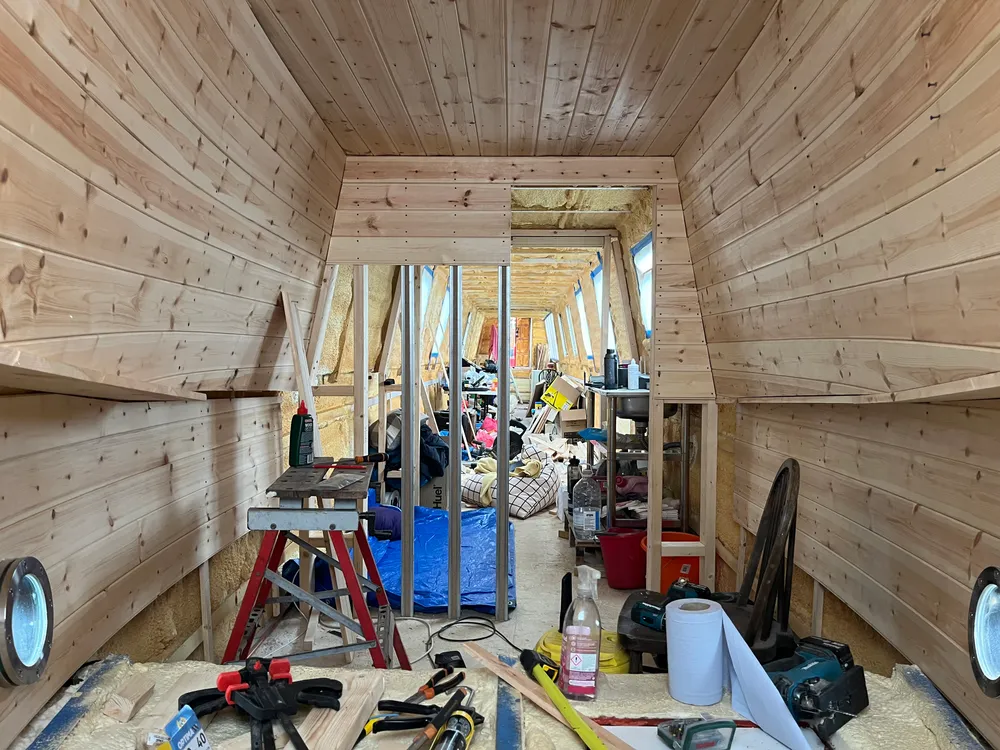
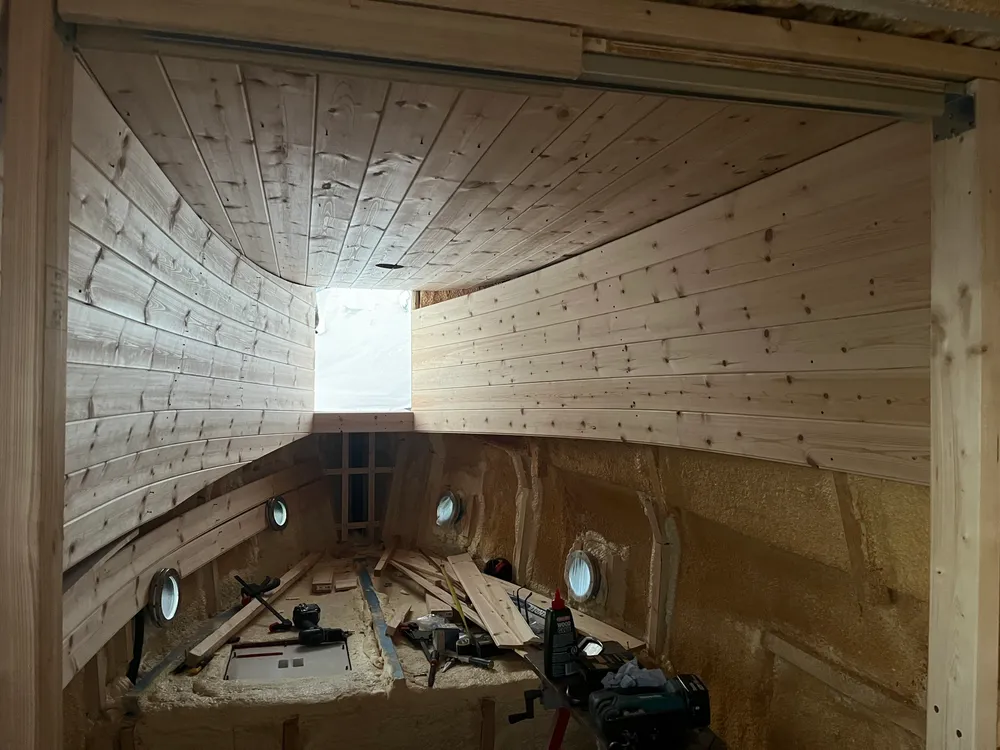
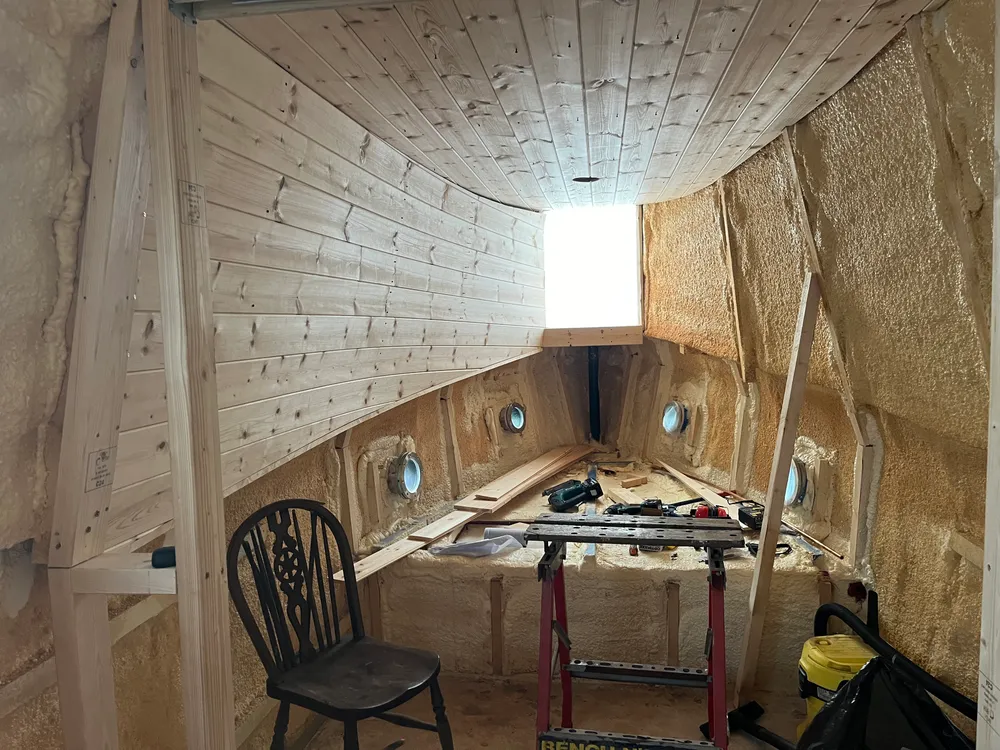
On Sunday, today, I finished off all the panelling:
And that part is done! No more panelling! Although for woodwork, I still have the cupboard to build and the bed slats to cut. Details. And there’s varnish and trim to do, so ignore the rough edges. For the varnish I ordered a tin of Ronseal’s mattcoat — I did look into the water-based stuff, but given I’ll use this in the bathroom I want something more durable.
Flooring, a mattress, the lights… we’re close! And a door.
Until next Sunday!
- Nick